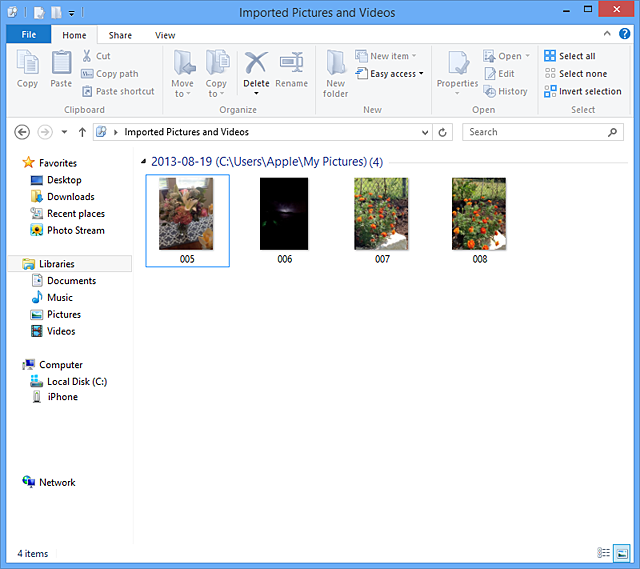
Import photos in Windows 8
Import photos and video from your device to your PC:
- Connect your iOS device to your computer.
- Move the cursor to the upper-right corner and click the magnifying glass icon.
- Type Computer and press Return.
- Right-click the logo for your device and click "Import pictures and videos."
- Click More Options.
- Click the Browse button next to the "Import images to" field and choose where to import your Camera Roll's photos. By default, these will import to the My Pictures folder.
- Select "Delete files from device after importing."
- If you delete photos after you import them, you can reduce the size of your Camera Roll and improve backup and restore times.
- If you wish to import the photos to other computers, don't select this option.
- If you don't want Windows to delete photos from your camera on subsequent imports, deselect this option when you're finished.
- After setting your import options, click OK to dismiss the window.
- Click Import.
- After the import is complete, Windows will display your photos.
If some of your photos didn't import from your device's Camera Roll, you can either copy the photos to your computer using Windows Explorer or import the photos using software such as Windows Live Photo Gallery or Adobe Photoshop Elements 3.0 or later.
Copy the photos to your computer using Windows Explorer:
- Connect the iOS device to the computer.
- Move the cursor to the upper-right corner.
- Click the magnifying glass icon.
- Type Computer and press Return.
- Double-click the logo for the device to browse its folders.
- Go to [iOS device]\Internal Storage\DCIM\100APPLE.
- Copy the content in this folder to your computer.
- Disconnect your device.
- Open the Camera Roll and delete the photos you imported.
To copy the photos to your computer using Windows Live Photo Gallery or Adobe Photoshop Elements 3.0 or later, see the documentation for that application.
For more information about transferring media from your device to a PC using Windows 8, see
this Microsoft article.


